Microsoft Entra ID (Azure Active Directory) Authentication
Microsoft Entra ID (formerly Azure Active Directory) is a Single Sign-On (SSO) provider supported by SyncNow. This integration allows users to log in using their Microsoft Entra ID credentials, streamlining authentication and enhancing security for your organization.
🚪 SSO Login Process with Entra ID
To log in using Entra ID, users should:
-
Navigate to the Identity Provider Selection
- On the login screen, click the Select Identity Provider link at the bottom.
- Or go directly to:
<syncnowserver>/account/select-idp
-
Select Entra ID as the SSO Provider
- Choose Microsoft Entra ID from the list of available SSO providers.
- Enter your Microsoft credentials when prompted.

⚙️ Setting Up Entra ID Authentication
To configure Entra ID as an authentication provider in SyncNow, follow these steps:
-
Create a New Entra ID Enterprise Application
- Log in to the Azure portal.
- Go to Azure Active Directory → Enterprise applications.
- Click New application → Create your own application.
- Name the application and select Integrate any other application you don't find in the gallery (Non-gallery).
-
Configure Permissions
- Assign users and groups who should have access to this application.
- In the enterprise app, go to Users and groups and add the necessary users/groups.
-
Copy Tenant ID and Client ID
- In the app's Overview page, copy the Tenant ID and Application (client) ID.
- You will need these for SyncNow configuration.
-
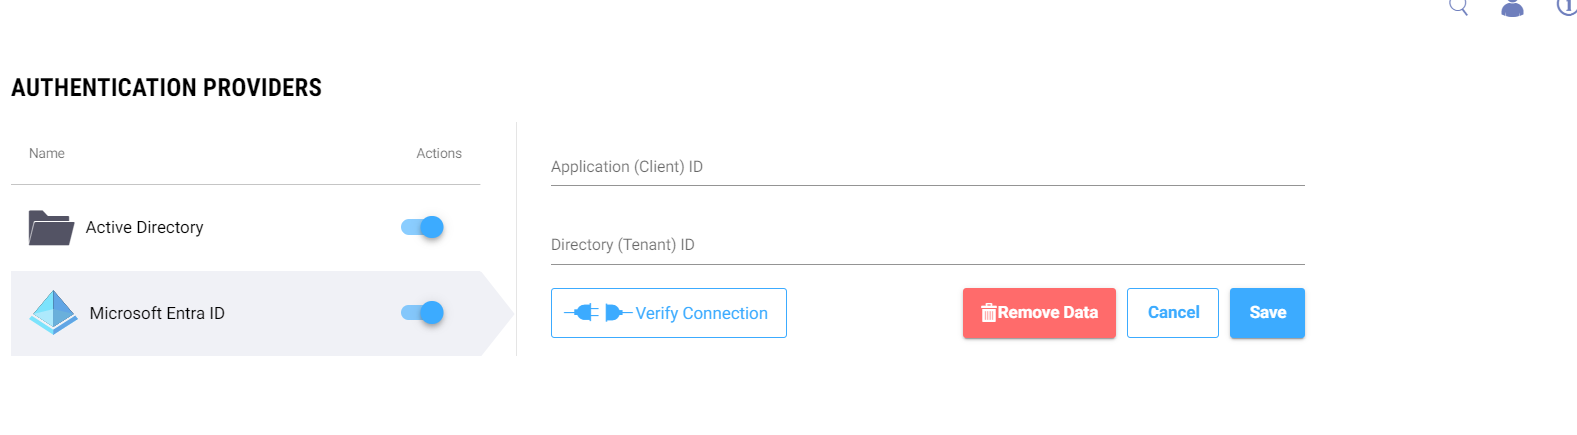
Configure SyncNow with Entra ID
- In SyncNow, go to Authentication Providers.
- Enable Entra ID authentication by toggling the switch.
- Click on Microsoft Entra ID and enter the Tenant ID and Client ID from Azure.
-
Validate the Connection
- Click Validate to test the connection.
- If successful, Entra ID authentication will be enabled for your users.
🛠️ Managing Entra ID Authentication
Administrators can manage Entra ID authentication from the Authentication Providers page:
-
Enable/Disable Entra ID Authentication
Use the toggle switch to enable or disable Entra ID as needed. -
Edit Connection Details
Click Edit to update the Tenant ID or Client ID if changes are required. -
Validate Connection
After making changes, use Validate to ensure the settings are correct and functional.
Tip:
Using Entra ID (Azure AD) SSO improves security, simplifies user management, and supports advanced features like multi-factor authentication and conditional access.